Creating shifts
This page outlines the steps involved in creation of schedules using the FM mobile application.
Shifts can be created by going to the Schedules section of your dashboard.

The steps involved in creating a shift are enumerated below:
Creating new shift for a person
Click on the + icon in the person’s profile in day view or week view mode as shown below. Note that the icon is only visible for future dates as nothing can be planned for past dates. 
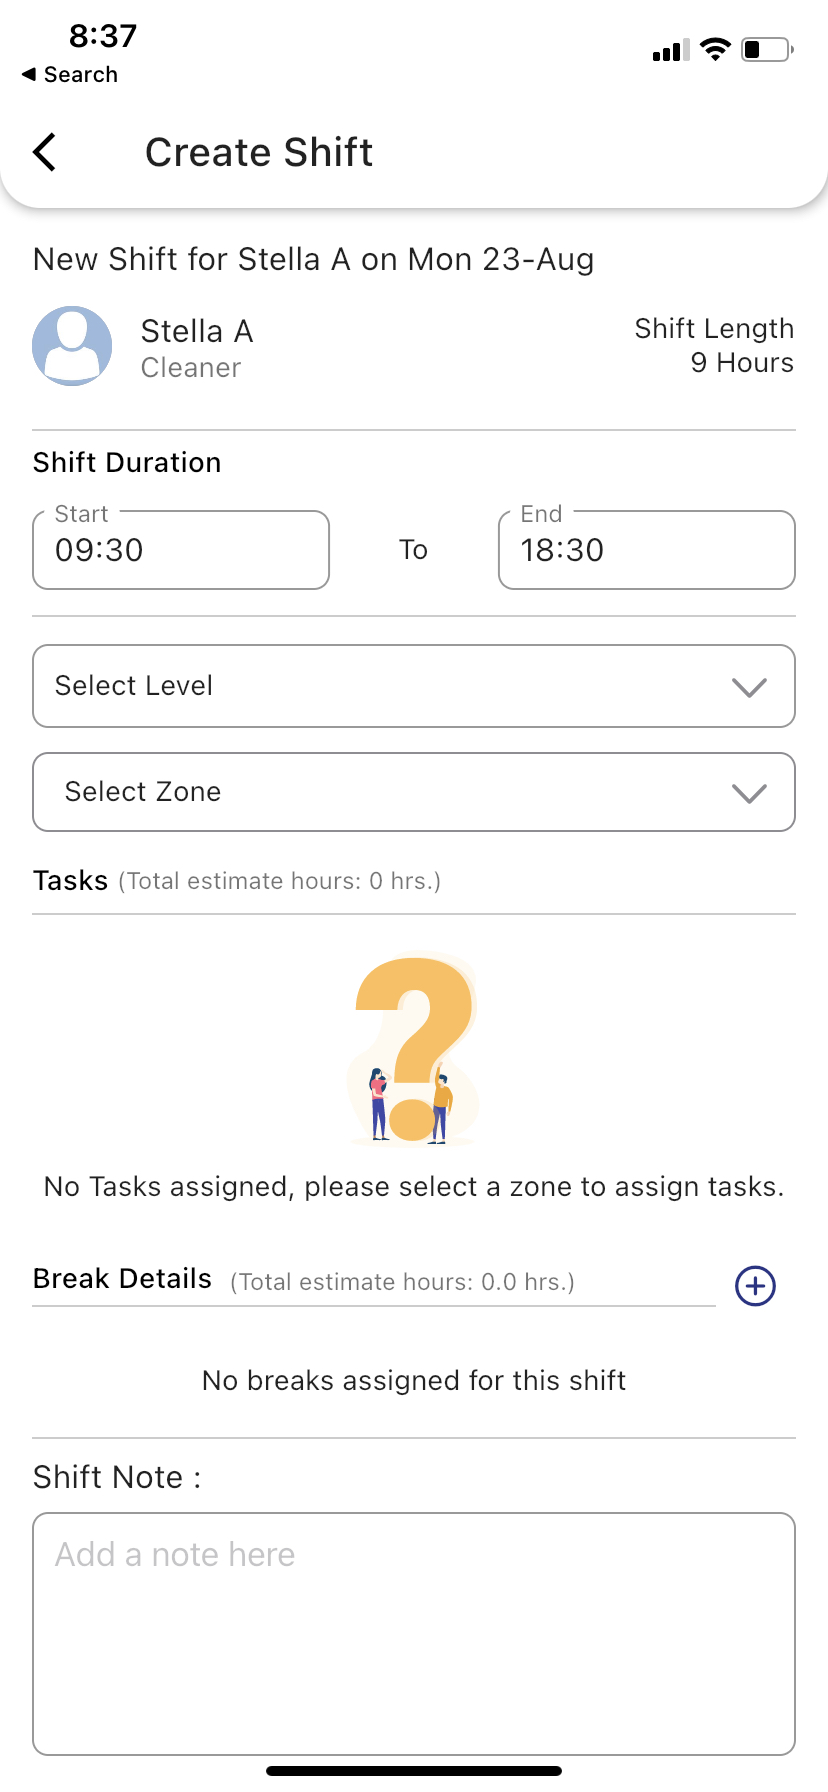
Time range selection for a shift
Start by selecting the start date time and subsequently the end date time. Note that a shift may span night hours, therefore the end time can be carried over to the next day as shown below.
Zone selection for a shift
The shift can be allocated to one or more zones in the facility by selecting the level followed by the zone.
Note: The zone selection can be left empty to indicate availability of this shift as a recepient of incidents for all zones.

Break selection for a shift
Select breaks (optional). Breaks are of 2 types:
- Unplanned breaks: Specify the time allocated to this break. A person can start and end this break at any time during their shift.
- Planned breaks: Specify the start and end time for this break. The mobile application will remind the person to start this type of break few minutes before its scheduled start time.
Note: The system will not send any auto assigned incidents (IoT driven) during this duration.


Describe the shift for future reference if required
Add an optional description to the shift.
Task scheduling in a planned shift
If the selected zone/s have been associated with scheduled tasks, they will appear in the application as highlighted below.

-
Click on the checkbox to view the tasks inside the task group/s and select their times of occurrence.
-
Select the start and end time of the task based on how much time should one occurrence be allocated to. The system displays the minimum estimated time that should be allocated to the selected task group.
Task repetitions in a planned shift
If the task group for that zone is to be repeated on certain intervals, use the repeat widget to generate the task repetition times.

Note: The task start time is used to generate the occurrences based on the repetion duration selected.
Repeat the shift for future dates
Select if the shift is to be repeated for certain date times based on the modes as described below:

- Repeat for tomorrow: The shift will be replicated for tomorrow’s date.
- Repeat for week: The shift will be replicated across the current ISO week.
- Repeat for rest of the month: The shift will be replicated across the current month.
- Repeat for the next month: The shift will be replicated across the next month.
- Repeat for specific days: This options allows the shift to be repeated on specific days of week for the current month. For example, to repeat the shift definition for Mondays and Tuesdays, select as shown below.

Publish planned shifts
Once the planning of schedule is completed, press the publish button to notify the respective people about the availability of their schedule.
If you forget to publish the schedule, items will be automatically removed from the server after a certain time and users will not be able to act on these shifts.

